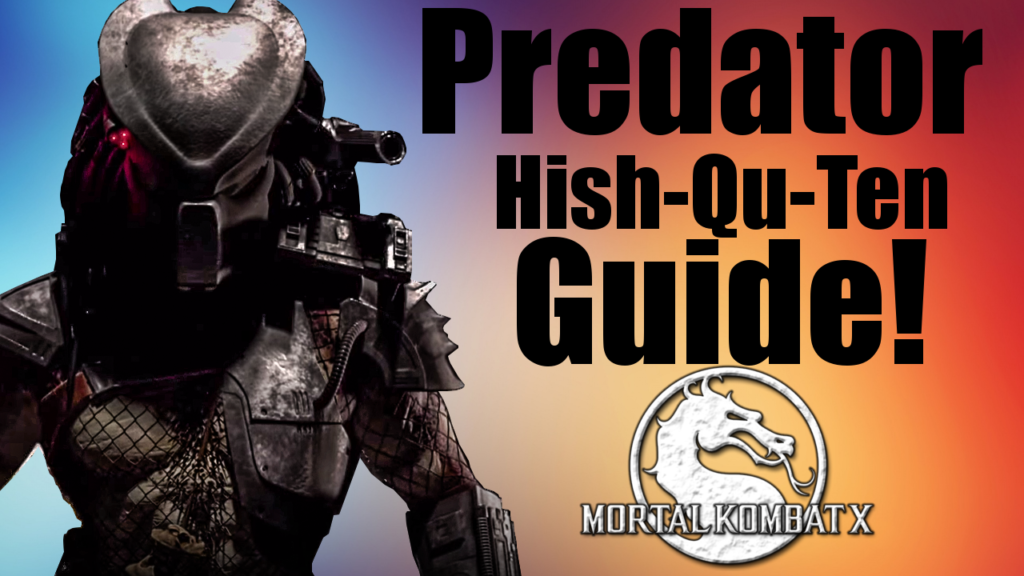
The Predator is finally here! Mortal Kombat X has graced us with the presence of one of the all time greats in action cinema. Let’s do him justice with this Predator guide! Learn Predator combos and basic fundamentals in this guide. All of these strings can be transferred to all variations of the Predator, minus all shoulder cannon action. So this guide will be great for any Predator user. Let’s take a closer look into the Hish-Qu-Ten variation of the Predator in Mortal Kombat X
Key
1= Front Punch (X or Square)
2= Back Punch (Y or Triangle)
3= Front Kick (A or X)
4= Back Kick (B or Circle)
NJP= Neutral Jump Pinch
NJK= Neutral Jump Kick
JIP= Jump in Punch
JIK= Jump In Kick
RC= Run Cancel
This video covers most of the information below. I am sure visually seeing this stuff will help you out a ton!
Best Normals
B2: Long Range. Combos to Overhead. Cancel with Low Plasma Shot. Advantage on block +2.
D4: Long Range. Huge Stagger. Can cancel into Low Plasma Shot. Safe against most characters from range. -13 on bLock
D3: Fastest poke. Safe on block -3
NJP: Huge range. Links to huge damage.
Best Strings
Key
H:High
M: Mid
L: Low
O: Overhead
**All combos that can be canceled with a special can be made safe with Low Plasma Shot**
12 (H, M) – 3 On Block
122 (H, M, O ) Launcher 0 On Block
F12U2 (H, M, M) -3 on block
B12 (M,L) -7 On Block
21 (M,M) 0 on block
2,1,2 (M,M,M) -23 on Block. Used as med speed punisher for big damage.
F21 (M,M) +1 on Block
F212 (M,M,O) Launcher -14 on block
B22 (M,M) -5 on Block … Best Range
B22D2 (M,M,O) +2 on Block
32 (M,O) -2 On Block
32 1+3 (M,O,M) -9 on Block … Safe Against most of the cast because of push back. Best used as a combo ender
B31 (L,M) -8 on Block
B311 (L,M,M) -13
B3D2 (L,O,L) 0 On Block
Pressure
The pressure game is strong with the Hish-Qu-Ten variation of Predator. Both of these combos are completely safe (-1 in block) and create tons of hit stun. This allows you to rush in and continue pressure. It also allows you to mix up by throwing or by switching between lows and overheads. These strings are VERY difficult to block and impossible to punish minus using an armored move and wasting a bar.
B31 Close Ground Plasma Shot (L,M,L) (3 hits 11%)
B311 Close Ground Plasma (L,M,M,L) (4 hits 16%)
32 Close Ground Plasma Shot (M,O,L) (3 hits 13%)
Plasma Caster Cancel
The Plasma Caster move can be canceled by holding 3 and dashing forward. This does two things for you while in combo. First, it keeps you safe if the string is blocked. Secondly it can add a few hits to any combo. Be aware that it does take away one bar of energy for every cancel. You can cancel twice in one combo. Some good starting strings to cancel on are as follows…
32 (Overhead)
B31 (Low)
B22 (Mid with long range)
12 (Mid)
21 (Mid)
You can add these cancels to any of the combos below or the pressure sequences discussed above. It will add some extra damage and allow for more overhead to low mix ups.
These cancels have a high level of execution and tight windows. Keep that in mind. Take time to learn how to execute these cancels before using them in a competitive match.
Damaging Combos and Punishers
I have eliminated combos that deliver similar damage with the same starters and enders but have a higher execution rate. I will to keep the combo list efficient in that way. I will only post the combos I deem worth executing in competitive matches. This list will grow and evolve so be sure to bookmark this page an check back frequently.
No Bars
212, RC, 212, B22, Scimitar Stab (10 hits 26%)
212, JIK, Smart-Disc, RC, B22 , Scimitar Stab (9 hits 27%)
112, Scimitar Stab (5 Hits 22%)
NJP, JIK, Smart-Disk, RC, B22, Scimitar Stab (9 hits 27%)
1 Bar
**Ground Plasma Barrage Makes Strings Safe On Block**
212, RC, 122, Scimitar Slam, 1, Scimitar Stab (11 hits 34%)
122, Scimitar Slam, JIK, Smart-Disc, RC, B22 Scimitar Stab (11 hits 40%)
122, Scimitar Slam, 122, Scimitar Stab (10 hits 40%)
B311, Ground Plasma Barrage, RC, 122, Scimitar Stab (11 hits 38%)
B311, Scimitar Slam, NJP, JIK, Smart Disc, RC, B22, Scimitar Stab (12 hits 41%)
32, Ground Plasma Barrage, RC, 122, Scimitar Stab (10 hits 37%)
NJP, JIK, Smart-Disk, RC, 21, Scimitar Slam, 1, Scimitar Stab (10 hits 32%)
Scimitar Slam, NJP, JIK, Smart-Disk, 321+2 (10 hits 36%)
2 Bars
Using 2 bars hasn’t seemed to be very beneficial in most situations. I find it best used at the end of matches or to close out a round. I wouldn’t just go around throwing bars away for under 10% increase in damage.
B311, Ground Plasma Barrage, RC, 122, Scimitar Slam, RC, Throw (15 hits 47%)
32, Ground Plasma Barrage, RC, 122, Scimitar Slam, NJP, RC, Throw (14 hits 46%)
Corner Combos
No Bars
212, NJP, 4, Up Plasma, 321+2 (11 hits 32%)
NJP, JIK, 212, 321+2 (10 hits 28%)
1 Bar
B311 Plasma Barrage, 212, NJP, 321+2 (15 hits 38%)
B311 Scimitar Slam, NJP, 4, Up Plasma, 321+2 (13 hits 45%)
32 Scimitar Slam, NJP, 4, Up Plama 321+2 (12 hits 43%)
212, 122, Scimitar Slam, NJP, 321+2 (14 hits 38%)
NJP, JIK, 212, 1, Scimitar Slam, 212 (11 hits 30%)
X Ray Combos
Predator’s X Ray scaled quite a bit in combo. I suggest not using it in combo. It isn’t worth it.
It does have armor on it and is a decent wake up option or a way to deliver unbreakable damage mid combo to kill an opponent who may have breaker.
Be sure to subscribe to my YouTube channel to stay up to date with all of my content. I post tutorial videos and gaming videos all the time. Please take part! You can do so by clicking the subscribe button below.


